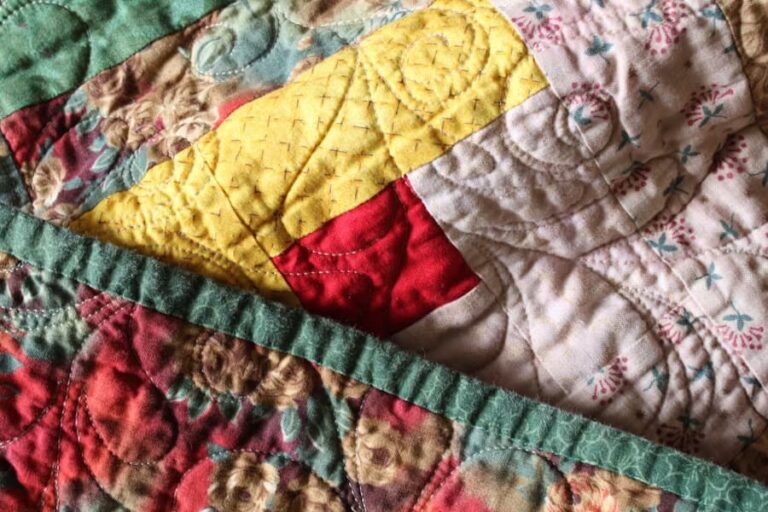
Achieving perfect seams is a crucial aspect of quilting that greatly influences the overall appearance and durability of your finished project. Whether you’re a seasoned quilter or just starting, mastering the art of seam creation can elevate the quality of your work. Here are some expert tips to help you create smooth and accurate seams, ensuring your quilts look professionally crafted and polished.
1. Invest in the Right Tools
The right tools are essential for achieving precise and smooth seams. Begin with a high-quality sewing machine that allows for accurate stitching. Ensure that your machine is properly maintained and regularly serviced to prevent issues that could affect seam quality. Additionally, use a quarter-inch seam foot or guide on your sewing machine to maintain consistent seam allowances, which are vital for a uniform appearance in your quilt.
2. Use Accurate Cutting Techniques
Accurate cutting is the foundation of perfect seams. Invest in a rotary cutter, a clear acrylic ruler, and a self-healing cutting mat to ensure precise cuts. Always measure twice before cutting to avoid mistakes that can lead to misaligned seams. For an extra touch of professionalism, use the dry brush fabric technique to lightly dust your cutting tools and fabric, which helps remove any lint or debris that could affect cutting accuracy.
3. Align Fabric Pieces Carefully
Proper alignment of fabric pieces is crucial for creating smooth seams. Before sewing, pin or clip your fabric pieces together to ensure they stay in place. Align the edges and seams carefully, and check for any shifts or misalignments. Using fabric clips instead of pins can also help reduce fabric distortion, especially with thicker materials. Pressing fabric pieces with a hot iron before sewing can further ensure that they lie flat and align properly.
4. Maintain Consistent Seam Allowances
Consistency is key when sewing seams. Always use a consistent seam allowance, typically 1/4 inch for quilting. To achieve this, use a seam guide or ruler that marks the seam allowance on your machine. Practicing on scrap fabric can help you get comfortable with maintaining a steady seam allowance and improve the accuracy of your seams. Make sure your sewing machine’s needle is correctly positioned to align with the seam guide for precise stitching.
5. Press Seams Properly
Pressing your seams correctly can significantly impact the final appearance of your quilt. After sewing, press your seams with a hot iron to set them properly. Press the seams open or to one side, depending on your pattern’s instructions. Avoid ironing back and forth, as this can cause stretching and distortion. Instead, use a pressing motion to set the seams and ensure they lay flat. For a crisp finish, use a pressing cloth to protect your fabric and prevent scorching.
6. Use the Right Thread
The choice of thread can affect the quality of your seams. Opt for high-quality quilting thread that complements your fabric and is strong enough to hold your seams securely. Test different threads on fabric scraps to determine the best match for your project. Additionally, ensure your sewing machine is threaded correctly and that the tension is adjusted appropriately to avoid issues like puckering or uneven stitching.
By following these tips, you can achieve smooth, accurate seams that enhance the overall quality of your quilting projects. Investing in the right tools, practicing accurate cutting, and maintaining consistent seam allowances are all essential steps toward creating professional-looking quilts. Whether your project features intricate designs or simple patterns, these techniques will help you produce seams that are both aesthetically pleasing and durable. Embrace these practices and enjoy the satisfaction of crafting quilts with impeccable seams and precision.